How To Make Cherry Juice: Easy Homemade Cherry Juice Recipe
Introduction
Cherry juice is a delicious, nutrient-packed beverage that offers a perfect balance of sweetness and tartness. Whether you’re looking for a refreshing drink, a post-workout treat, or a fun homemade ingredient for smoothies and mocktails, cherry juice is an easy choice. This guide will walk you through everything you need to know about making cherry juice at home, from selecting the right ingredients to juicing methods, what to know about cherry juice, and serving suggestions.
Fresh cherry juice is popular for its deep red color and its mix of sweet and tart flavor. With a few simple steps, you can make this vibrant juice at home and enjoy it fresh.
Ingredients & Equipment
Key Ingredients Needed
To make fresh cherry juice, you’ll need:
- Fresh or frozen cherries (about 4 cups)
- Water (1-2 cups, depending on desired consistency)
- Sweetener (optional): Honey, maple syrup, or stevia
- Lemon juice (optional): Enhances flavor and preserves freshness
- Ice cubes (optional): For serving chilled
Recommended Juicers or Methods
You can extract cherry juice using different methods:
- Blender Method: Ideal for those without a juicer. Requires straining to remove pulp.
- Cold Press Juicer: Best for smooth, flavorful juice with very little foam.
- Boiling Method: A traditional technique that helps extract maximum juice from cherries.
- Manual Mashing: Suitable for small batches; involves pressing cherries with a fork or potato masher.
Each method has its pros and cons, and we’ll go through them in the step-by-step guide below.
Step-by-Step Process
Step 1: Preparation of Ingredients
- Wash the cherries thoroughly under running water to remove any dirt or pesticides.
- Pit the cherries by slicing them in half and removing the seed. If you have a cherry pitter, this step will be quicker.
- Optional: If using frozen cherries, let them thaw slightly before juicing.
Step 2: Choosing a Juicing Method
Blender Method
- Add cherries and 1 cup of water into a blender.
- Blend on high speed until smooth.
- Pour the mixture through a fine mesh strainer or cheesecloth to separate the pulp from the juice.
- Press down with a spoon to extract all the liquid.
- Sweeten if needed, and serve chilled.
Cold Press Juicer Method
- Feed the cherries into the juicer slowly.
- Collect the extracted juice in a container.
- Stir and enjoy immediately or store for later.
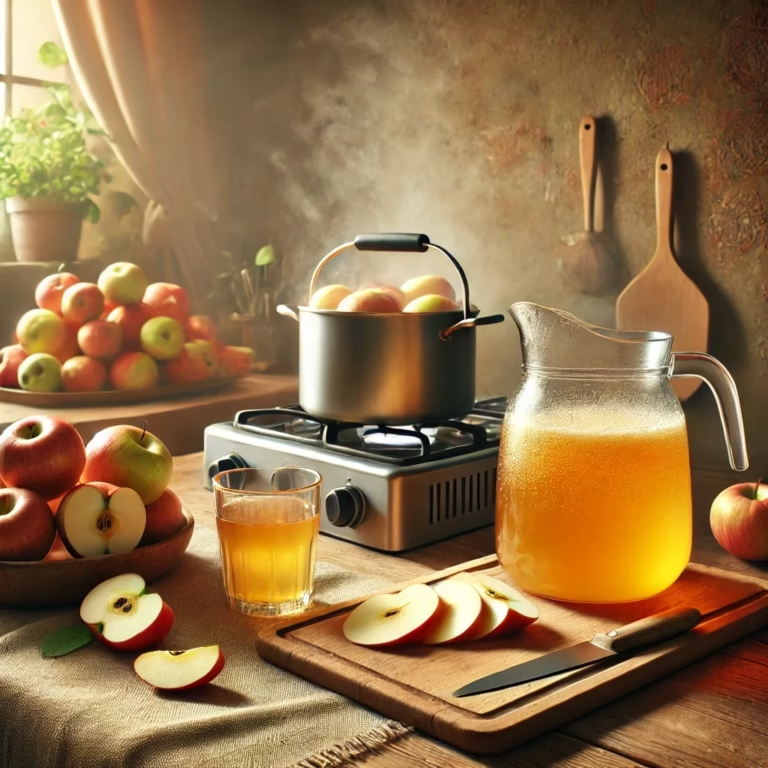
Boiling Method
- Place cherries in a pot with 2 cups of water.
- Bring to a boil and simmer for 15-20 minutes, stirring occasionally.
- Mash the softened cherries using a spoon or masher.
- Strain through a sieve or cheesecloth.
- Let it cool, then serve.
Manual Mashing Method
- Place pitted cherries in a bowl.
- Use a fork or potato masher to press out the juice.
- Strain the mixture to remove solids.
- Serve immediately.
Step 3: Straining & Serving Suggestions
- If you prefer pulp-free juice, strain it thoroughly using a cheesecloth.
- For a tangy twist, add a teaspoon of lemon juice.
- Serve over ice for a refreshing drink.
- Store in an airtight container in the fridge for up to 3 days.
What to Know About Cherry Juice
1. Natural Plant Pigments
Cherries get their deep red color from anthocyanins, a type of plant pigment. The darker the cherry, the deeper the color of your juice.
2. Tart vs. Sweet Cherries
Tart cherries taste sharper than sweet cherries, so you may want a little sweetener or a splash of apple juice. Sweet cherries often need no added sweetener at all.
3. A Refreshing Drink After Exercise
Many people enjoy a cold glass of cherry juice after a workout simply because it is refreshing and easy to sip. Pair it with water and a real meal or snack.
4. Natural Sugar and Little Fiber
Cherry juice contains natural sugar and has much less fiber than whole cherries, so keep portions modest and keep eating whole fruits and vegetables. If you have diabetes or blood-sugar concerns, ask your doctor before adding it to your routine.
5. Vitamin C and Potassium
Cherries contain vitamin C and potassium. The exact amounts vary with the variety of cherry and how the juice is made.
6. Check With Your Doctor If Needed
If you take medication or have a health condition, talk to your doctor before making cherry juice a regular habit.
Serving Ideas & Variations
1. Cherry Juice with Citrus Twist
- Add orange or lemon juice for a tangy flavor.
- Mix with grapefruit juice for a tart, citrusy flavor. Grapefruit can interact with some medications, so check with your pharmacist if you take any.
2. Cherry-Ginger Refresher
- Blend cherry juice with fresh ginger for a warm, spicy kick.
- Serve chilled with ice cubes for a refreshing summer drink.
3. Cherry & Apple Juice Blend
- Combine cherry juice with apple juice for a naturally sweetened drink.
- Serve with a sprinkle of cinnamon for added depth of flavor.
4. Sparkling Cherry Juice
- Mix with sparkling water for a fizzy, refreshing drink.
- Garnish with mint leaves for a sophisticated touch.
5. Cherry Juice Smoothie Base
- Use cherry juice as a base for smoothies.
- Blend with bananas and yogurt for a creamy texture.
What You Need to Make Cherry Juice
Here are a few practical tools that make home cherry juice simple—options for cold‑press lovers and quick weekday juicing, plus storage and straining for the blender method.

1. Ninja NeverClog Cold Press Juicer (JC151)
A cold‑press juicer gives very clear, flavorful cherry juice with minimal heat and oxidation, which is a good fit if you want a clean, bright cherry flavor.

2. Breville Juice Fountain Compact (BJE200XL)
A fast centrifugal option that handles cherries (and any apples or carrots you might blend with them) quickly—great for making small batches on busy mornings.
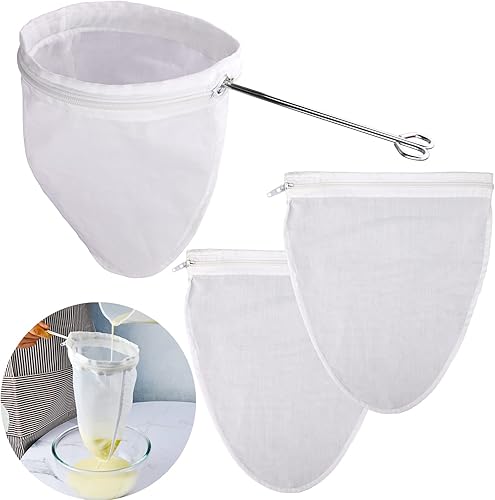
3. Fine mesh strainer (stainless steel)
Essential if you’re using the blender or boiling method: it removes pulp and skins for a smooth, clear cherry juice.

4. Glass juice bottles (16 oz, 6-pack)
Wide‑mouth glass bottles are perfect for storing freshly made cherry juice in the fridge and make pouring and transport easy.
Tip: If you’re blending, freeze half your cherries first to make a colder, more refreshing juice without diluting with too much ice.
This section contains affiliate links. As an Amazon Associate, we earn from qualifying purchases at no extra cost to you.
Conclusion
Making cherry juice at home is simple and rewarding. Whether you prefer a cold-pressed juice, a quick blend, or a traditional boiling method, there’s an option for everyone. Enjoy it as an occasional treat alongside a balanced diet with plenty of vegetables and fiber, and remember that juice has natural sugar and little fiber.
Now that you know how to make cherry juice, why not give it a try? Experiment with different variations, share your favorite recipes, and enjoy this naturally delicious drink!
Homemade Cherry Juice
A vibrant red juice with a balance of sweet and tart cherry flavor, made with a blender, juicer, boiling or mashing method.
Equipment
- Blender (juicing vs blending)
- Fine mesh strainer or nut milk bag (for a smoother juice)
- Airtight glass bottle or jar (for storing leftovers)
Ingredients
- 4 cups fresh or frozen cherries (pitted)
- 1 cup water (1-2 cups depending on desired consistency; 1 cup for the blender method)
- honey, maple syrup, or stevia (optional sweetener)
- 1 tsp lemon juice (optional)
- ice cubes (optional, for serving chilled)
Instructions
- Wash the cherries thoroughly under running water.
- Pit the cherries by slicing them in half and removing the seed.
- Let frozen cherries thaw slightly before juicing.
- Add the cherries and 1 cup of water to a blender.
- Blend on high speed until smooth.
- Pour the mixture through a fine mesh strainer or cheesecloth.
- Press down with a spoon to extract all the liquid.
- Sweeten if needed and serve chilled over ice.
- Store in an airtight container in the fridge for up to 3 days.
For a tangy twist, add a teaspoon of lemon juice.
For pulp-free juice, strain it thoroughly using a cheesecloth.
Estimates only; amounts and times vary. Not medical advice. Juice is not a replacement for whole fruit and vegetables.