

How to Make Apple Juice at Home: Simple Methods and Tips
Some links on this page are affiliate links: if you buy through them, we may earn a small commission at no extra cost to you. Details
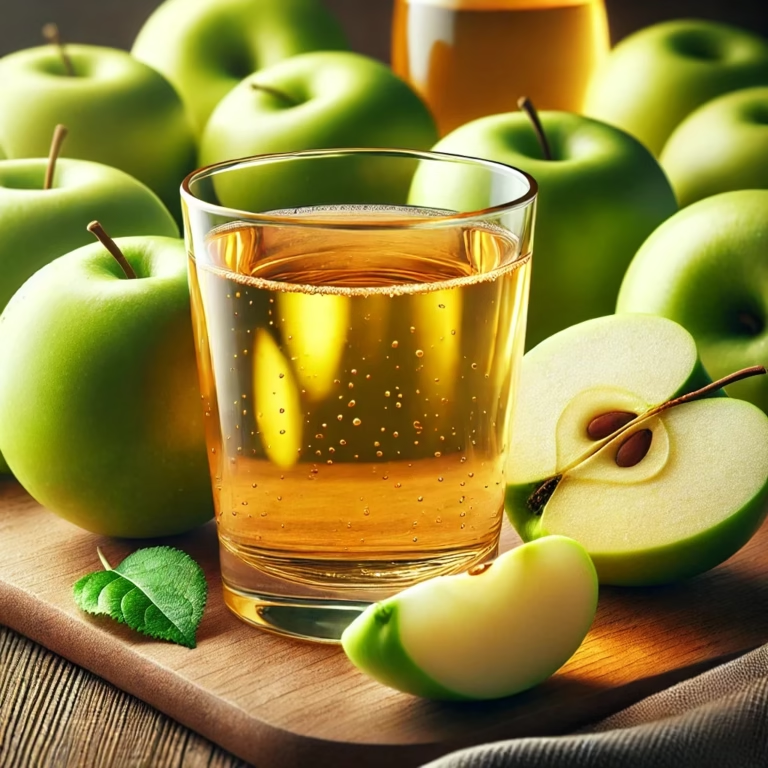
If you’re a fan of fresh, homemade beverages, apple juice is a must-try! Not only is it incredibly refreshing, but it’s also packed with nutrients like vitamins C, A, and potassium. Plus, when you make apple juice at home, you control the ingredients, ensuring a wholesome, preservative-free drink. In this guide, we’ll cover how to make apple juice at home using various methods, so you can choose the one that works best for you. Let’s get juicing!
Why Make Apple Juice at Home?
Store-bought apple juice is convenient, but it often contains added sugars, artificial flavors, and preservatives that reduce its nutritional value. Homemade apple juice, on the other hand, gives you complete control over what goes into your drink. Here’s why making apple juice at home is worth the effort:
- No Additives or Preservatives: You’re drinking pure juice without unnecessary chemicals or artificial ingredients.
- Customizable Flavor: Experiment with different apple varieties or add ingredients like ginger, cinnamon, or lemon to create your ideal juice.
- Freshness and Nutrients: Homemade juice is always fresher, retaining more vitamins and antioxidants than processed versions.
- Eco-Friendly: Making juice at home reduces packaging waste from store-bought options.
- Cost-Effective: With just a few apples, you can make a large batch of juice, saving money in the long run.
- Healthier Choices: Store-bought apple juice is often high in sugar, contributing to blood sugar spikes. Homemade versions let you enjoy the natural sweetness of apples without overloading on sugar.
With these benefits in mind, let’s dive into the different methods for making your own apple juice at home.
Read more about the many benefits of apple juice …
Method 1: Using a Juicer
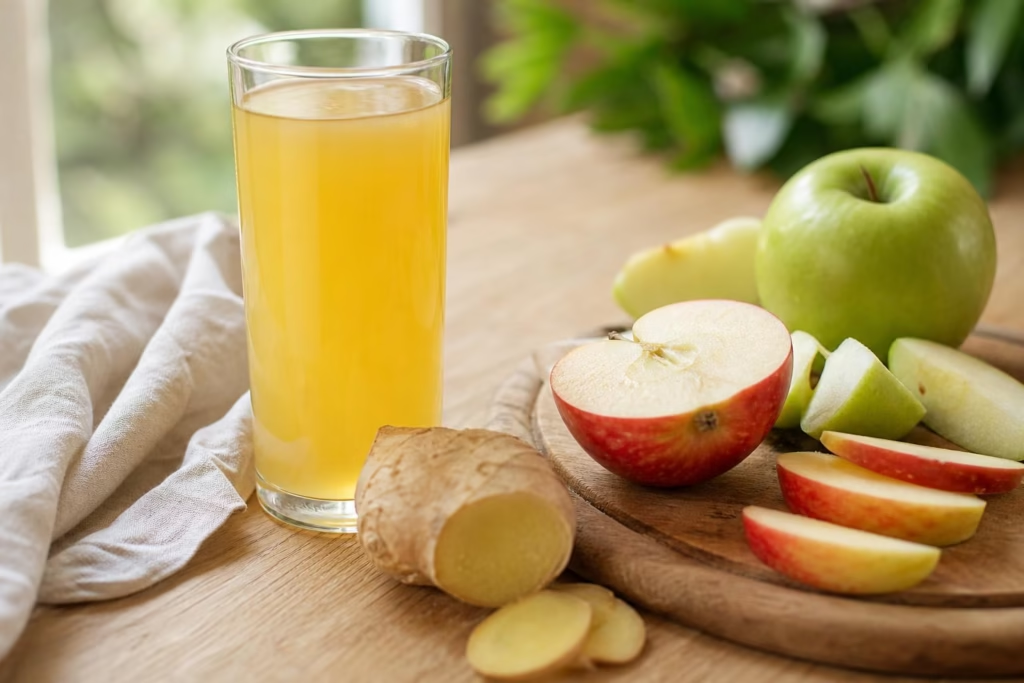
Time Required: 15 minutes
Servings: 4 cups (approx. 4 servings)
Juicers are the quickest and easiest way to extract fresh apple juice with minimal effort.
Tools You’ll Need:
- Juicer
- Knife and cutting board
- Airtight container (if storing)
Ingredients:
- 6–8 medium-sized apples (Granny Smith or Fuji work well)
- Optional: 1-inch ginger for added flavor
Instructions:
- Wash and Prep Apples: Wash the apples thoroughly, remove stems, and cut them into quarters. There’s no need to peel or core, as most juicers separate the pulp and seeds.
- Juice: Feed the apple quarters into the juicer one at a time. If using ginger, add it with the apples for a spicy kick.
- Serve and Store: Pour the juice into glasses and enjoy immediately. If you’re saving some for later, store it in an airtight container in the fridge for up to 2 days.
Method 2: Using a Blender
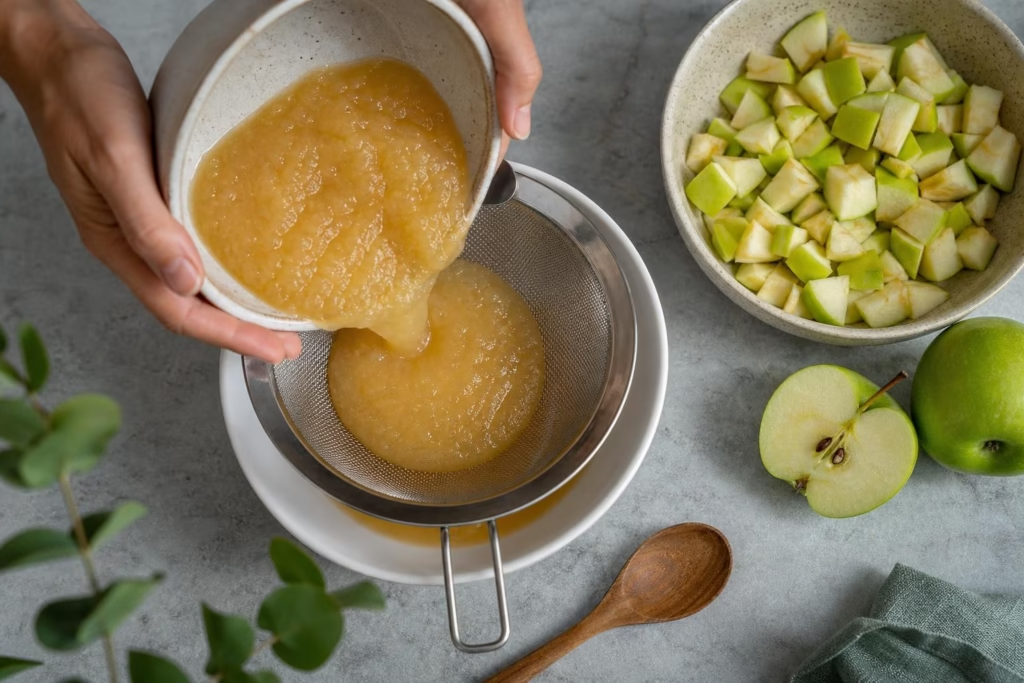
Time Required: 25 minutes
Servings: 3 cups (approx. 3 servings)
This method is perfect for anyone without a juicer.
Tools You’ll Need:
- Blender
- Fine-mesh strainer or cheesecloth
- Bowl
- Knife and cutting board
Ingredients:
- 6 medium-sized apples
- ½–1 cup water
Instructions:
- Wash and Prep Apples: Wash, core, and chop the apples into small pieces.
- Blend: Add the apple chunks to the blender with water. Blend until smooth.
- Strain: Pour the puree through a fine-mesh strainer or cheesecloth into a bowl. Press the pulp with a spoon to extract as much juice as possible.
- Serve: Pour the juice into glasses and enjoy. This method produces slightly thicker juice, making it perfect for those who love a fiber-rich option.
Method 3: Stovetop Boiling
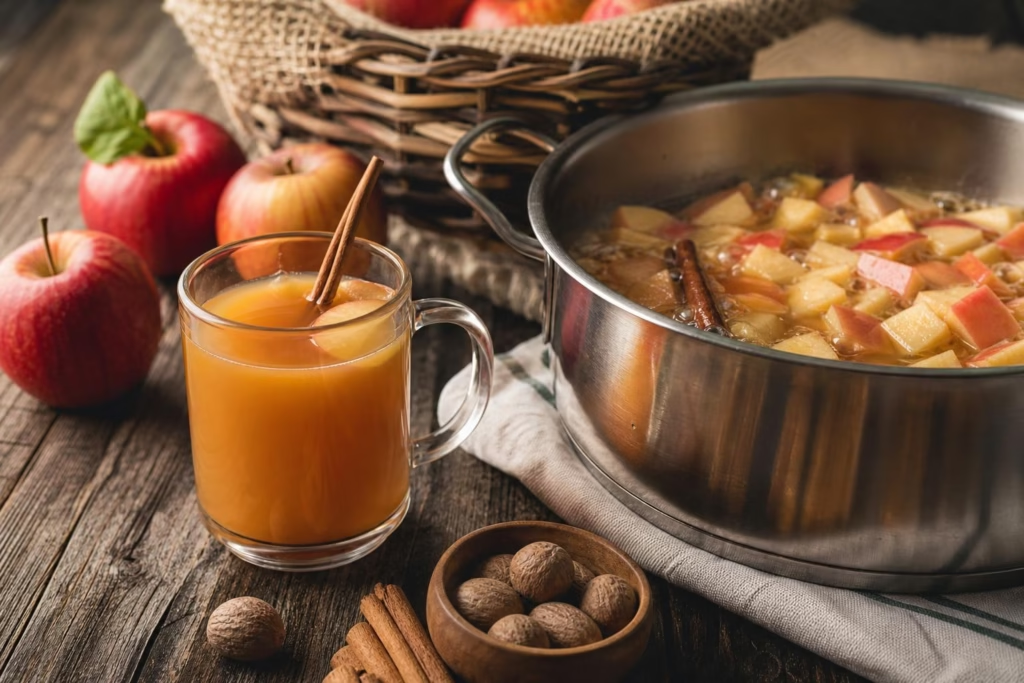
Time Required: 40 minutes
Servings: 5 cups (approx. 5 servings)
This traditional method yields a warm, flavorful juice that’s perfect for cozy days.
Tools You’ll Need:
- Large pot
- Potato masher
- Fine-mesh strainer or cheesecloth
- Bowl
Ingredients:
- 8 medium-sized apples
- 6 cups water
- Optional: 1 cinnamon stick or pinch of nutmeg for flavor
Instructions:
- Wash and Chop Apples: Wash the apples and quarter them. There’s no need to peel or core.
- Boil: Add the apples and water to a large pot. Bring to a boil, then reduce heat to simmer for 25–30 minutes, or until the apples are soft.
- Mash and Strain: Use a potato masher to crush the softened apples. Pour the mixture through a fine-mesh strainer or cheesecloth into a bowl, pressing down to extract the juice.
- Flavor and Serve: Stir in cinnamon or nutmeg for extra warmth. Serve warm or chilled.
Method 4: Cold-Pressed (Traditional)
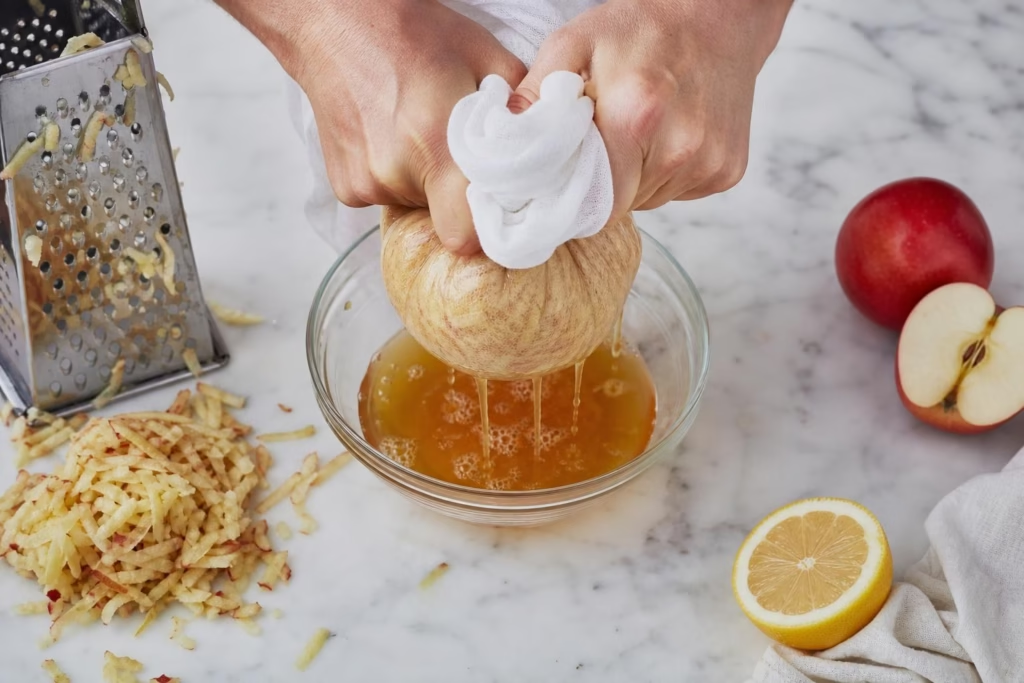
Time Required: 45 minutes
Servings: 4 cups (approx. 4 servings)
Cold-pressed juice retains the highest amount of nutrients and natural flavor.
Tools You’ll Need:
- Box grater
- Cheesecloth or nut milk bag
- Bowl
Ingredients:
- 6–8 medium-sized apples
- Optional: Juice of ½ lemon for freshness
Instructions:
- Grate Apples: Wash the apples thoroughly and grate them using a box grater.
- Strain: Place the grated apple in a cheesecloth or nut milk bag. Squeeze the cloth over a bowl to extract the juice.
- Add Lemon: Stir in lemon juice to preserve color and flavor.
- Serve: Pour into glasses and enjoy immediately.
Which Method is Best?
Each method has its own strengths, and the choice depends on your priorities and preferences.
- Convenience and Speed: If you’re short on time, the juicer method is the fastest, providing clear, smooth juice in minutes.
- Nutrient Retention: For those seeking maximum health benefits, the cold-pressed method is ideal. It preserves more vitamins, antioxidants, and enzymes than any other method.
- Flavor Variety: The stovetop boiling method creates a warm, comforting juice infused with spices, making it perfect for fall or winter.
- Fiber-Rich Option: The blender method retains more fiber, which aids digestion and keeps you full longer.
Overall, if you prioritize health benefits, cold-pressed juice is the winner. However, for everyday convenience, a juicer or blender will work perfectly and still provide a nutrient-rich beverage.
Conclusion
Making apple juice at home is not only simple but also incredibly rewarding. Whether you opt for the quick juicer method, the fiber-rich blender option, or the nutrient-packed cold-pressed technique, each method offers a unique experience. Experiment with flavors, add your favorite spices, and enjoy the wholesome goodness of fresh, homemade apple juice. So grab some apples and start juicing today!
Juicer Apple Juice
A quick, fresh apple juice made in a juicer, with an optional hint of ginger.
Equipment
- Juicer (fast or slow, compare types)
- Airtight glass bottle or jar (for storing leftovers)
Ingredients
- 7 medium apples (6–8 apples; Granny Smith or Fuji work well; washed, stems removed, quartered)
- 1 inch piece of fresh ginger (optional)
Instructions
- Wash the apples thoroughly, remove stems, and cut them into quarters.
- Feed the apple quarters into the juicer one at a time.
- Add the ginger with the apples if using.
- Pour the juice into glasses and enjoy immediately.
- Store leftovers in an airtight container in the fridge for up to 2 days.
There is no need to peel or core, as most juicers separate the pulp and seeds.
Estimates only; amounts and times vary. Not medical advice. Juice is not a replacement for whole fruit and vegetables.
Blender Apple Juice
A slightly thicker apple juice made with a blender and strainer, no juicer needed.
Equipment
- Blender (juicing vs blending)
- Fine mesh strainer or nut milk bag (for a smoother juice)
Ingredients
- 6 medium apples (washed, cored, and chopped into small pieces)
- ¾ cup water (about ½ to 1 cup)
Instructions
- Wash, core, and chop the apples into small pieces.
- Add the apple chunks and water to the blender.
- Blend until smooth.
- Pour the puree through a fine-mesh strainer or cheesecloth into a bowl.
- Press the pulp with a spoon to extract as much juice as possible.
- Pour the juice into glasses and enjoy.
This method produces slightly thicker juice.
Estimates only; amounts and times vary. Not medical advice. Juice is not a replacement for whole fruit and vegetables.
Stovetop Boiled Apple Juice
A warm, flavorful apple juice simmered on the stove with optional cinnamon or nutmeg.
Equipment
- Juicer (fast or slow, compare types)
- Fine mesh strainer or nut milk bag (for a smoother juice)
Ingredients
- 8 medium apples (washed and quartered)
- 6 cups water
- 1 cinnamon stick or pinch of nutmeg (optional)
Instructions
- Wash the apples and quarter them.
- Add the apples and water to a large pot.
- Bring to a boil, then reduce heat and simmer for 25-30 minutes, or until the apples are soft.
- Crush the softened apples with a potato masher.
- Pour the mixture through a fine-mesh strainer or cheesecloth into a bowl, pressing down to extract the juice.
- Stir in cinnamon or nutmeg if using.
- Serve warm or chilled.
There is no need to peel or core the apples.
Estimates only; amounts and times vary. Not medical advice. Juice is not a replacement for whole fruit and vegetables.
Cold-Pressed Apple Juice
A traditional hand-pressed apple juice made by grating apples and squeezing them through cloth, with optional lemon.
Equipment
- Juicer (fast or slow, compare types)
- Fine mesh strainer or nut milk bag (for a smoother juice)
Ingredients
- 7 medium apples (6-8 apples, washed thoroughly)
- ½ lemon, juiced (optional)
Instructions
- Wash the apples thoroughly and grate them using a box grater.
- Place the grated apple in a cheesecloth or nut milk bag.
- Squeeze the cloth over a bowl to extract the juice.
- Stir in the lemon juice if using.
- Pour into glasses and enjoy immediately.
Lemon juice helps preserve color and flavor.
Estimates only; amounts and times vary. Not medical advice. Juice is not a replacement for whole fruit and vegetables.
All the gear we recommend, in one place
Juicers, blenders and small kitchen tools, sorted into short lists, including picks under $10.
Browse our Amazon storefrontAffiliate link: we earn from qualifying purchases at no extra cost to you. How we pick products


2 Comments